
On the Organization Details you can see details about the organization (e.g., display name, status, account type, number of members), view reports, resend new user notifications, create new users, and add existing users.
The Details Sections
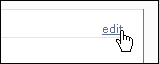
The upper section of the page displays various details about the organization. There is also an edit command which you can click to make changes.
To edit an organization
1. Click the edit command.
2. In the Details section, click the drop-down lists for the options you want to change and make your choices.
3. The bottom part of the screen contains settings for each of the features of Lyris HQ that are currently active. For example, an organization that has Email Marketing, Web Analytics and Content Management active will see something like this:

To change settings for a particular feature, click the tab for that feature and then make your changes.
Learn more about changing Web Analytics settings.
4. When you are finished, click the Update button.
The Reports Section
In the Reports section, there are links to two different types of reports: the Seat Usage Report and the Organization Usage Report.
The Seat Usage Report
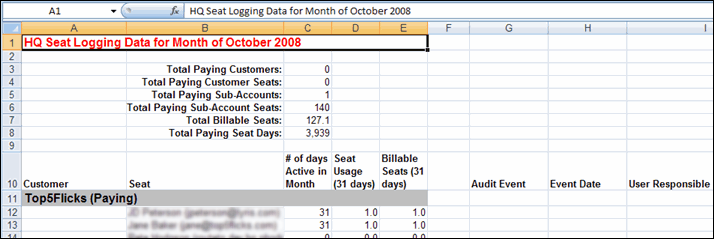
The Seat Usage Report gives you a range of information on your seat usage.
To view the Seat Usage Report
Click the month for which you want to review information.

The report opens in MS Excel.
To view details for a user listed in the report
In the Excel spreadsheet, click the user's name. The detail page for the user appears in Lyris HQ.
NOTE To view the details for a different user, you must first click anywhere in Excel to make it the active window, and then click the user name.
The Organization Usage Report
The Organization Usage Report gives you information on the following:
To view the Organization Usage Report
Click the month for which you want to review usage.
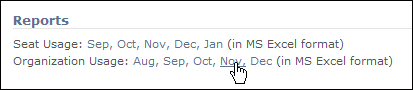
The report opens in MS Excel.
The Members Sections
The Members section contains a table that shows you the current settings for all the users in the organization.

To view details about a user
Click the user's first or last name.
To filter the Members table based on whether a member is active or not
Click the Show Active drop-down list and choose Show Active or Show All.
Special Admin Features
In the upper right of the Members section, there are several commands that are available to admins only.
To send the notifications that go out to new users
Click the Resend User Notifications command.
To create a new user for an organization
1. Click Create User.

2. On the Create User page, type or select the requested information.
To add an existing user to an organization
1. Click Add Existing User.

2. On the Add User page, select the user(s) you want to add, and then click the Add User button.
NOTE If there are a lot of users, you can narrow down the list. Type the first few letters of the name of the user of you want in the Filter box. Any names that begin with those letters will be listed. To continue narrowing the list, type more letters.