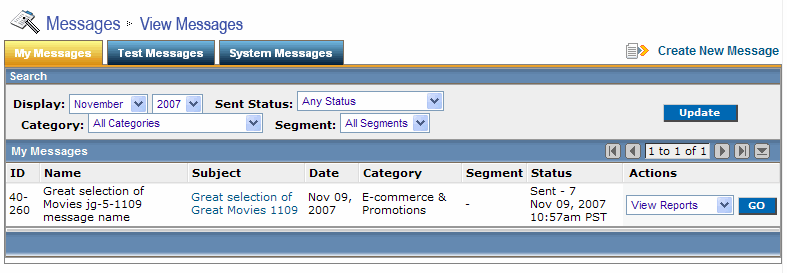
The Messages Table shows you all your messages and lets you test them, edit them, copy or delete them, and view them a variety of ways.
NOTE This page details the Message Table displayed in the older EmailLabs interface. There is another Messages table that has similar functionality but uses the more up-to-date Lyris HQ interface.

To view the Messages table
![]() In
the left navigation bar, click View Messages.
In
the left navigation bar, click View Messages.

To view a message
![]() Under
Subject, click the subject text for the message. The message appears in a new window.
Under
Subject, click the subject text for the message. The message appears in a new window.
To sort the table by Name, Date, etc.
![]() Click
the column heading you want to sort by. The only heading that is not clickable is Actions.
Click
the column heading you want to sort by. The only heading that is not clickable is Actions.
To view messages that fit a certain sent status, category or segment
1. Click the drop-down list next to Sent Status, Category, or Segment, and then select the option you want.
2. Click Update.
To view different sections of the table

The buttons change your view as follows:
|
|
First 10 Rows |
|
|
Previous 10 Rows |
|
|
Next 10 Rows |
|
|
Last 10 Rows |
|
|
Expand Rows |
To copy, edit or delete a message
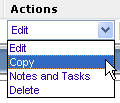
1. Click the Actions box for the message, and then click the option you want.

2. Click Go.
Note
![]() Edit
and Delete are only available for messages you have not sent yet.
Edit
and Delete are only available for messages you have not sent yet.
To view your Proof and Quick Test messages
![]() Click
Test Messages.
Click
Test Messages.
To view your System Messages
![]() Click
System Messages.
Click
System Messages.
The two system messages are Welcome and Confirm Opt-In. You can edit each one.
To create a new Message
![]() Click
Create New Message.
Click
Create New Message.
Learn more about creating a message.