Scheduled messages are designed to be sent at certain time and to a pre-determined segment of contacts. Triggered messages are designed to send a message when an event has occurred, for example, when a contact joins a mailing list.
Note: This section focuses on triggered message functionality and benefits.
The following five sections take you through the triggered message creation workflow.
Step 1: Define Triggered Messages
Message List
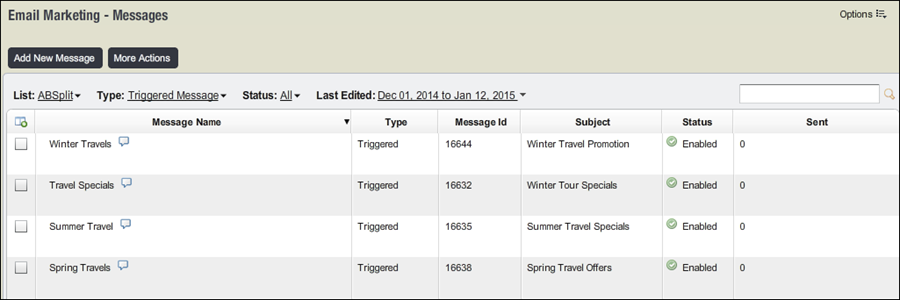
1. Navigate to Email Marketing > Campaigns & Messages.
Above the list of messages, there are four dynamic filters that sort the message list depending on which choice is selected.
| List | Enables you to filter the message list by All mailing lists or any one specific mailing list. |
| Status | Enables you to filter the message list by the message states, as in Unsent, Draft, Paused and Processing. |
| Type | Allows you to filter the message list by All, Scheduled or Triggered Messages. |
| Last Edited | Gives you the ability to choose dates whose range you may want to view messages. |
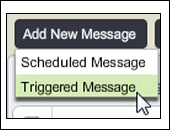
2. Select Add New Message in order to create a message.
You get a drop down that enables you to select a Scheduled Message or Triggered Message.

Note: In order to have a Triggered Message available, you need to talk to the Lyris Administrator within your organization to enable the appropriate permission to manage Triggered messages.
