In this release we introduce the following new features.
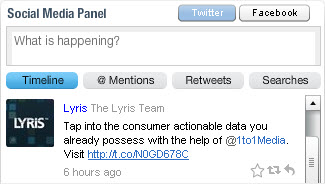
The new Social Media Panel on the Dashboard enables a one-to-one connection between Lyris and your company’s Twitter and Facebook accounts.You can now post directly to Facebook and Twitter from within Lyris HQ. For more information about the Social Media Panel, see Social Media Panel -- Overview.
You can post updates, retweets, and replies from within Lyris HQ. Use the Timeline to monitor posts of anyone you are following. For more information about the Social Media Panel for Twitter, see Using the Social Media Panel -- Twitter.

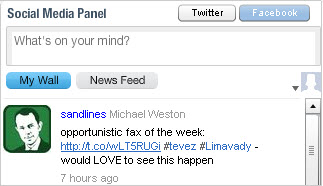
You can post updates and like, share, and comment on others' posts. In addition, you can add images to your posts. For more information about the Social Media Panel for Facebook, see Using the Social Media Panel -- Facebook.
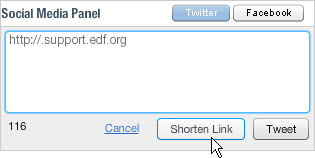
To save space in your posts, you can shorten links in your content with a click of a button.
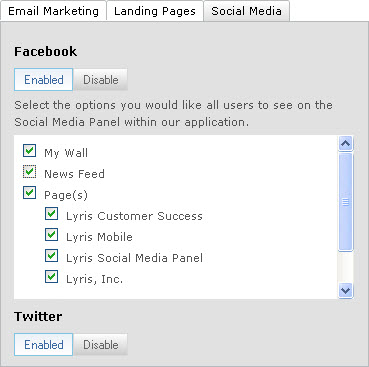
On the Edit Organization page, administrators can enable Twitter and Facebook connections and select which Facebook features and pages users can access. For more information about enabling a connection, see Setting Up the Social Media Panel -- Overview.
On the Edit User page, administrators can grant write/delete permissions to individual users. For more information about granting user permissions, see Setting Up the Social Media Panel -- User Permissions.

We now provide new enhancers for Facebook Like, Facebook Share, Twitter, and LinkedIn to make it easier to customize the look and feel of your messages.

You can easily select the enhancer you want to add, or add all of them together. The new enhancers are available from the Enhancers drop down list in step 2. Edit Message of the message creation workflow.
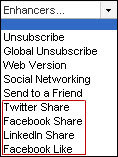
After you send a message that includes any social enhancer, you can create segments to see which recipients clicked the enhancer, making it possible to target those who have expressed a strong interest in your brand.

We made numerous enhancements to improve usability and performance of the message creation workflow. For detailed instructions for using the new message flow, see Message Creation Overview.
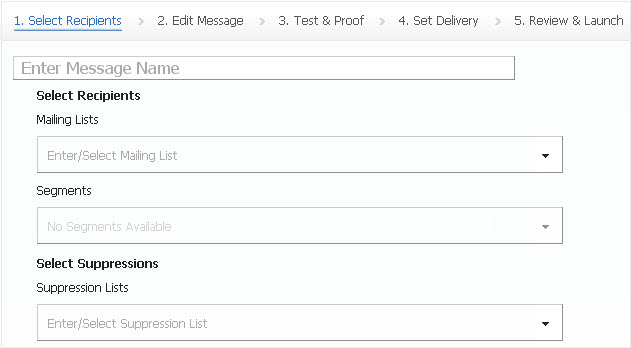
We redesigned message creation workflow steps based on customer feedback to make the message creation process easier and more intuitive.

When you click Add Message on the Messages page, you select the list, segment, and suppression list for your message on the 1. Select recipients page. This enhancement makes it easier to select the recipients for your campaign.
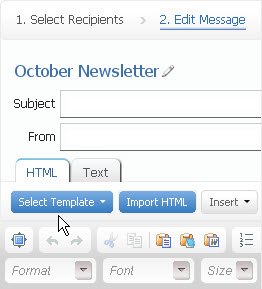
You now select a template in step 2. Edit Message of the message creation workflow.
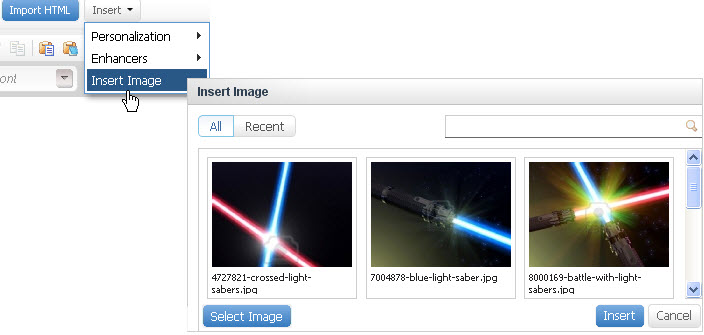
Inserting images from the Asset Library or any location on your computer is easier than ever. In step 2. Edit Message, simply click the Insert drop down list, select your image, then click the Insert button.
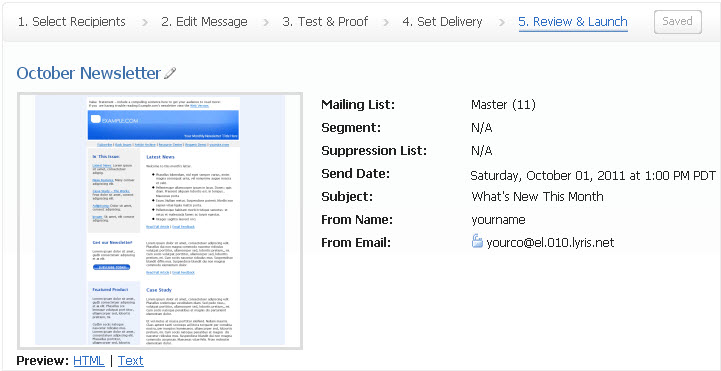
After you schedule the message, the new step 5. Review & Launch lets you review the message before it is sent.
We made numerous additional improvements to the message creation user interface to simplify the message creation workflow.